
A trigger is the moment your popup decides to appear. Choosing the right one makes the difference between a campaign that feels helpful and one that feels intrusive — the same offer can perform very differently depending on when it shows up.
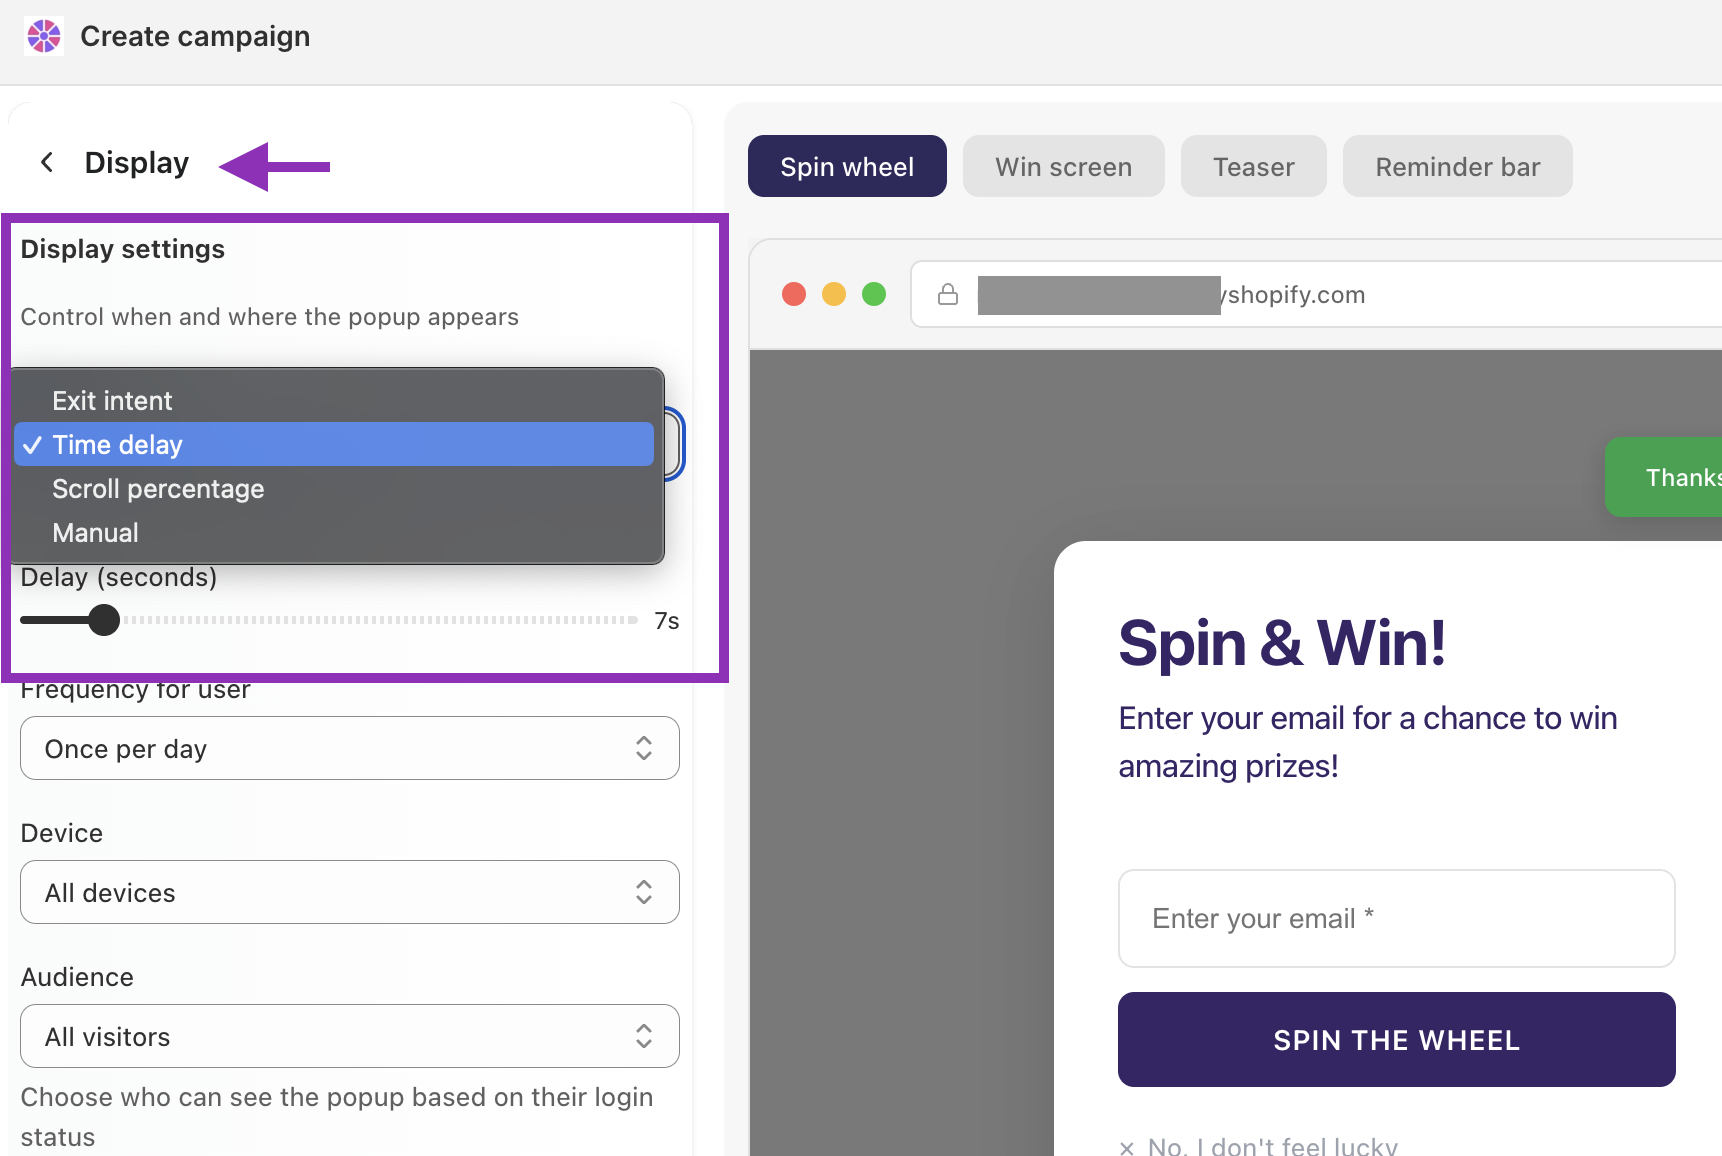
To set a trigger, open your campaign and click Display in the left panel. The trigger setting is at the top of the page.
Triggers include:
Exit intent
Time delay
Scroll percentage
Manual
Exit intent
Fires when a visitor moves their cursor toward the top of the browser, signaling they're about to leave the page.
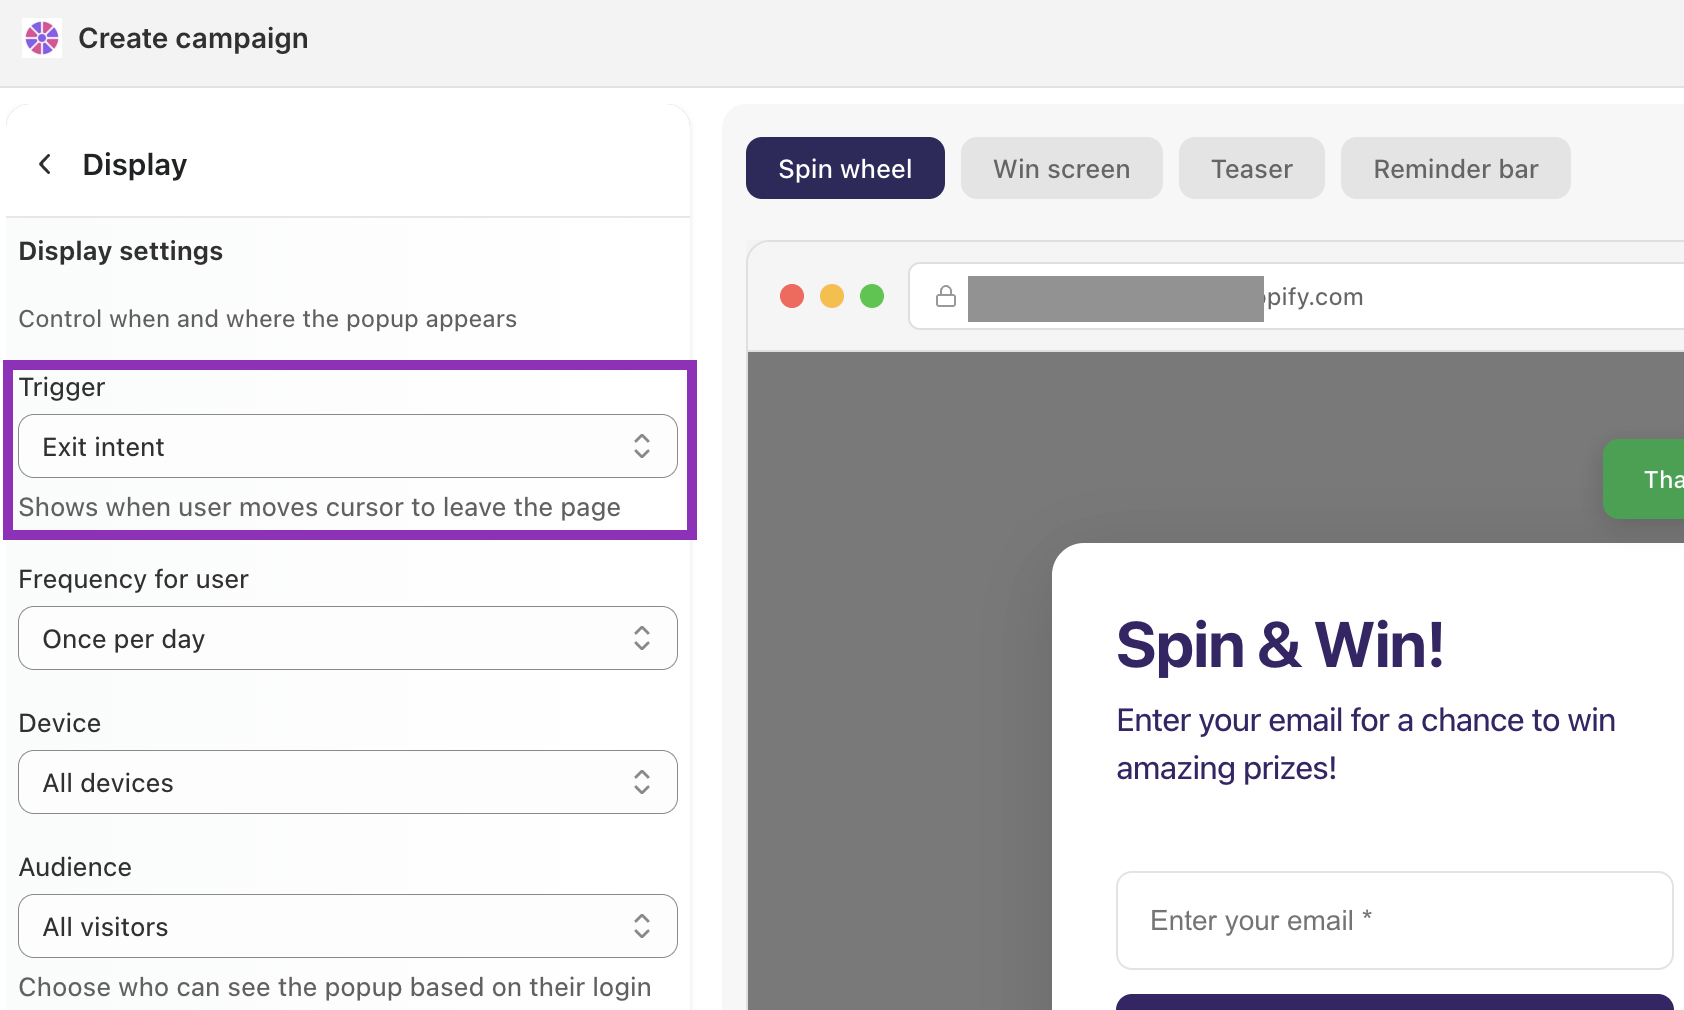
Best for: Recovering abandoning visitors without interrupting anyone who's still browsing. Since it only triggers on the way out, it doesn't interrupt engaged visitors at all.
Example: A skincare store shows a "Spin to get 15% off" wheel to visitors leaving a product page without adding anything to cart. Because the visitor was already leaving, the popup has nothing to lose — and frequently converts.
💡 Tip: Exit intent is the highest-converting trigger for most stores. If you're only going to use one trigger, start here.
Time delay
Shows the popup after the visitor has spent a set number of seconds on the page.
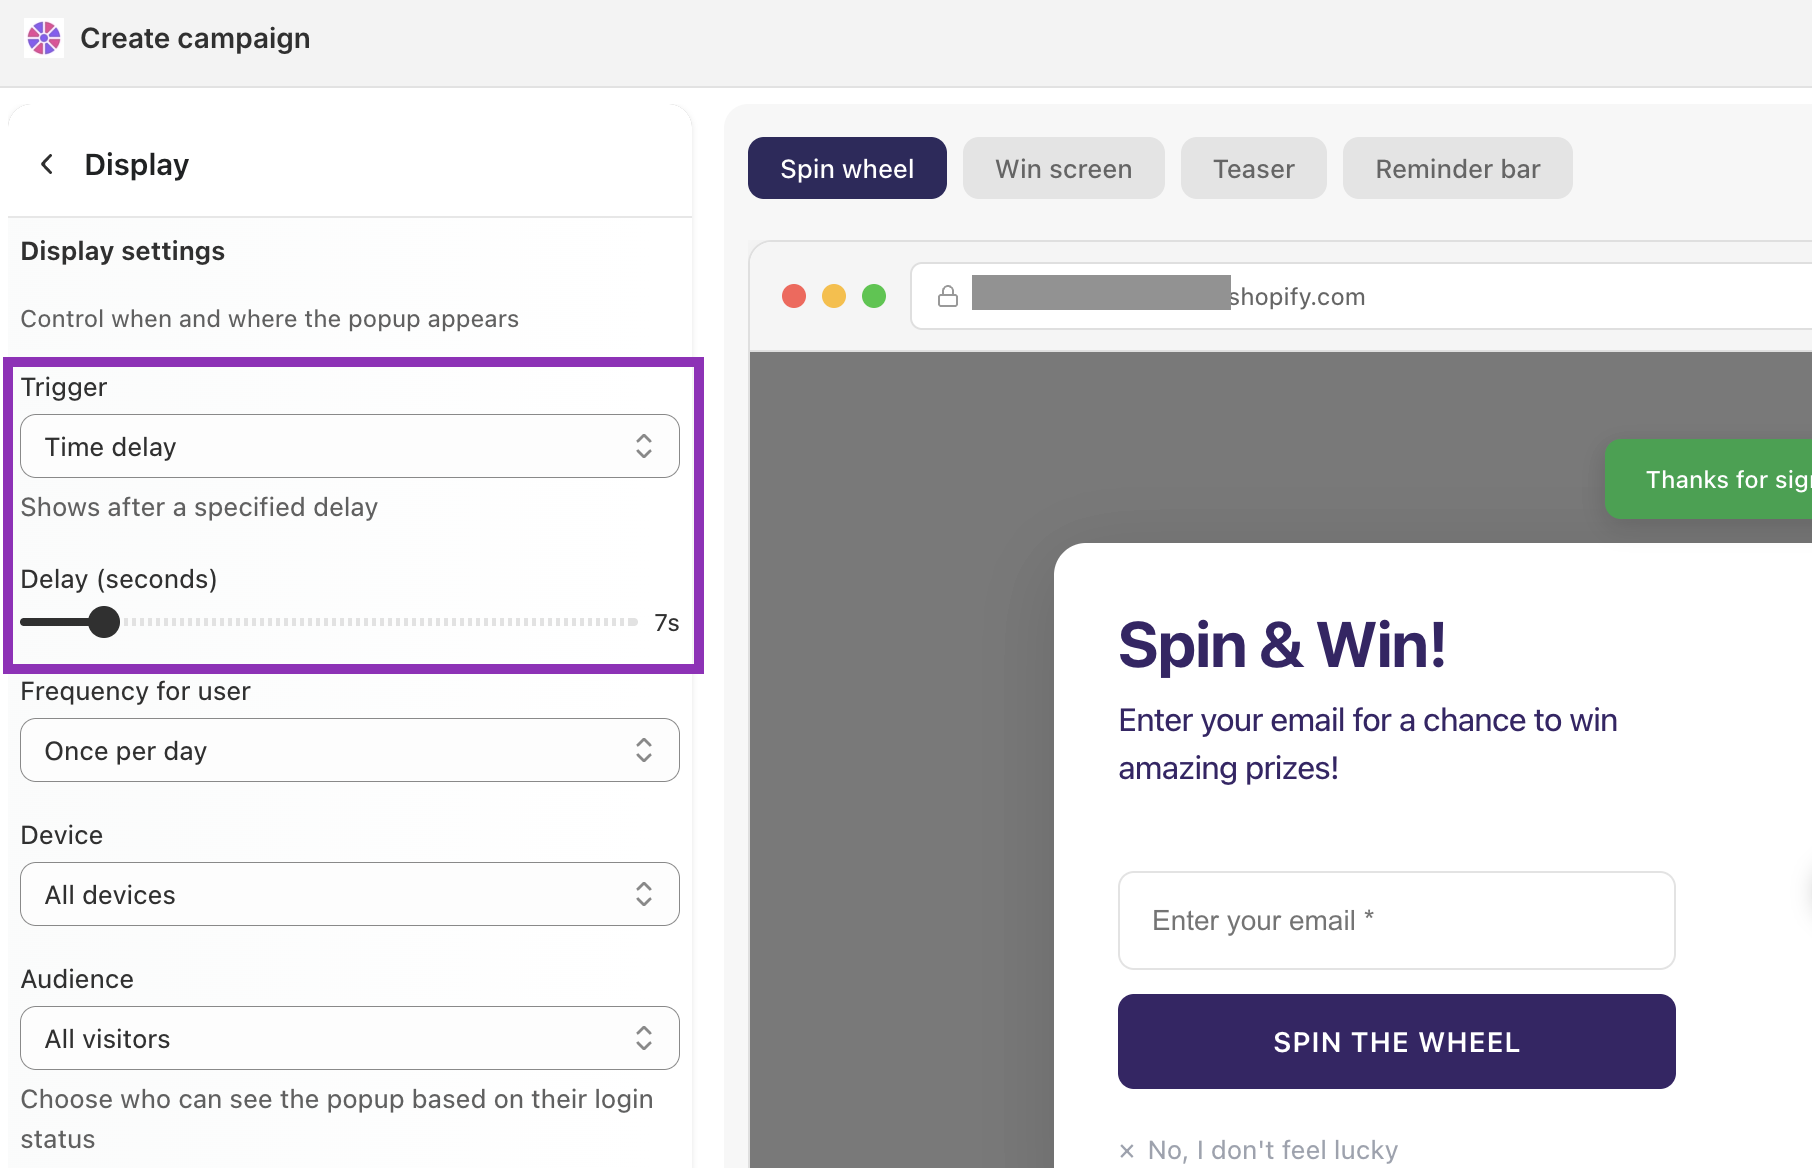
Best for: Engaging visitors who are actively reading and showing genuine interest, without hitting them the moment they land.
Example: A supplement brand sets a 10-second delay on their homepage. Visitors who are still on the page after 10 seconds have read past the hero section — they're interested, and far more likely to engage with an offer.
💡 Tip: Avoid delays under 5 seconds — it feels like the popup was waiting to ambush the visitor. 8–15 seconds is the sweet spot for most stores. For long-form pages like blogs or buying guides, go longer (20–30 seconds).
Scroll percentage
Triggers once the visitor has scrolled to a certain point down the page.
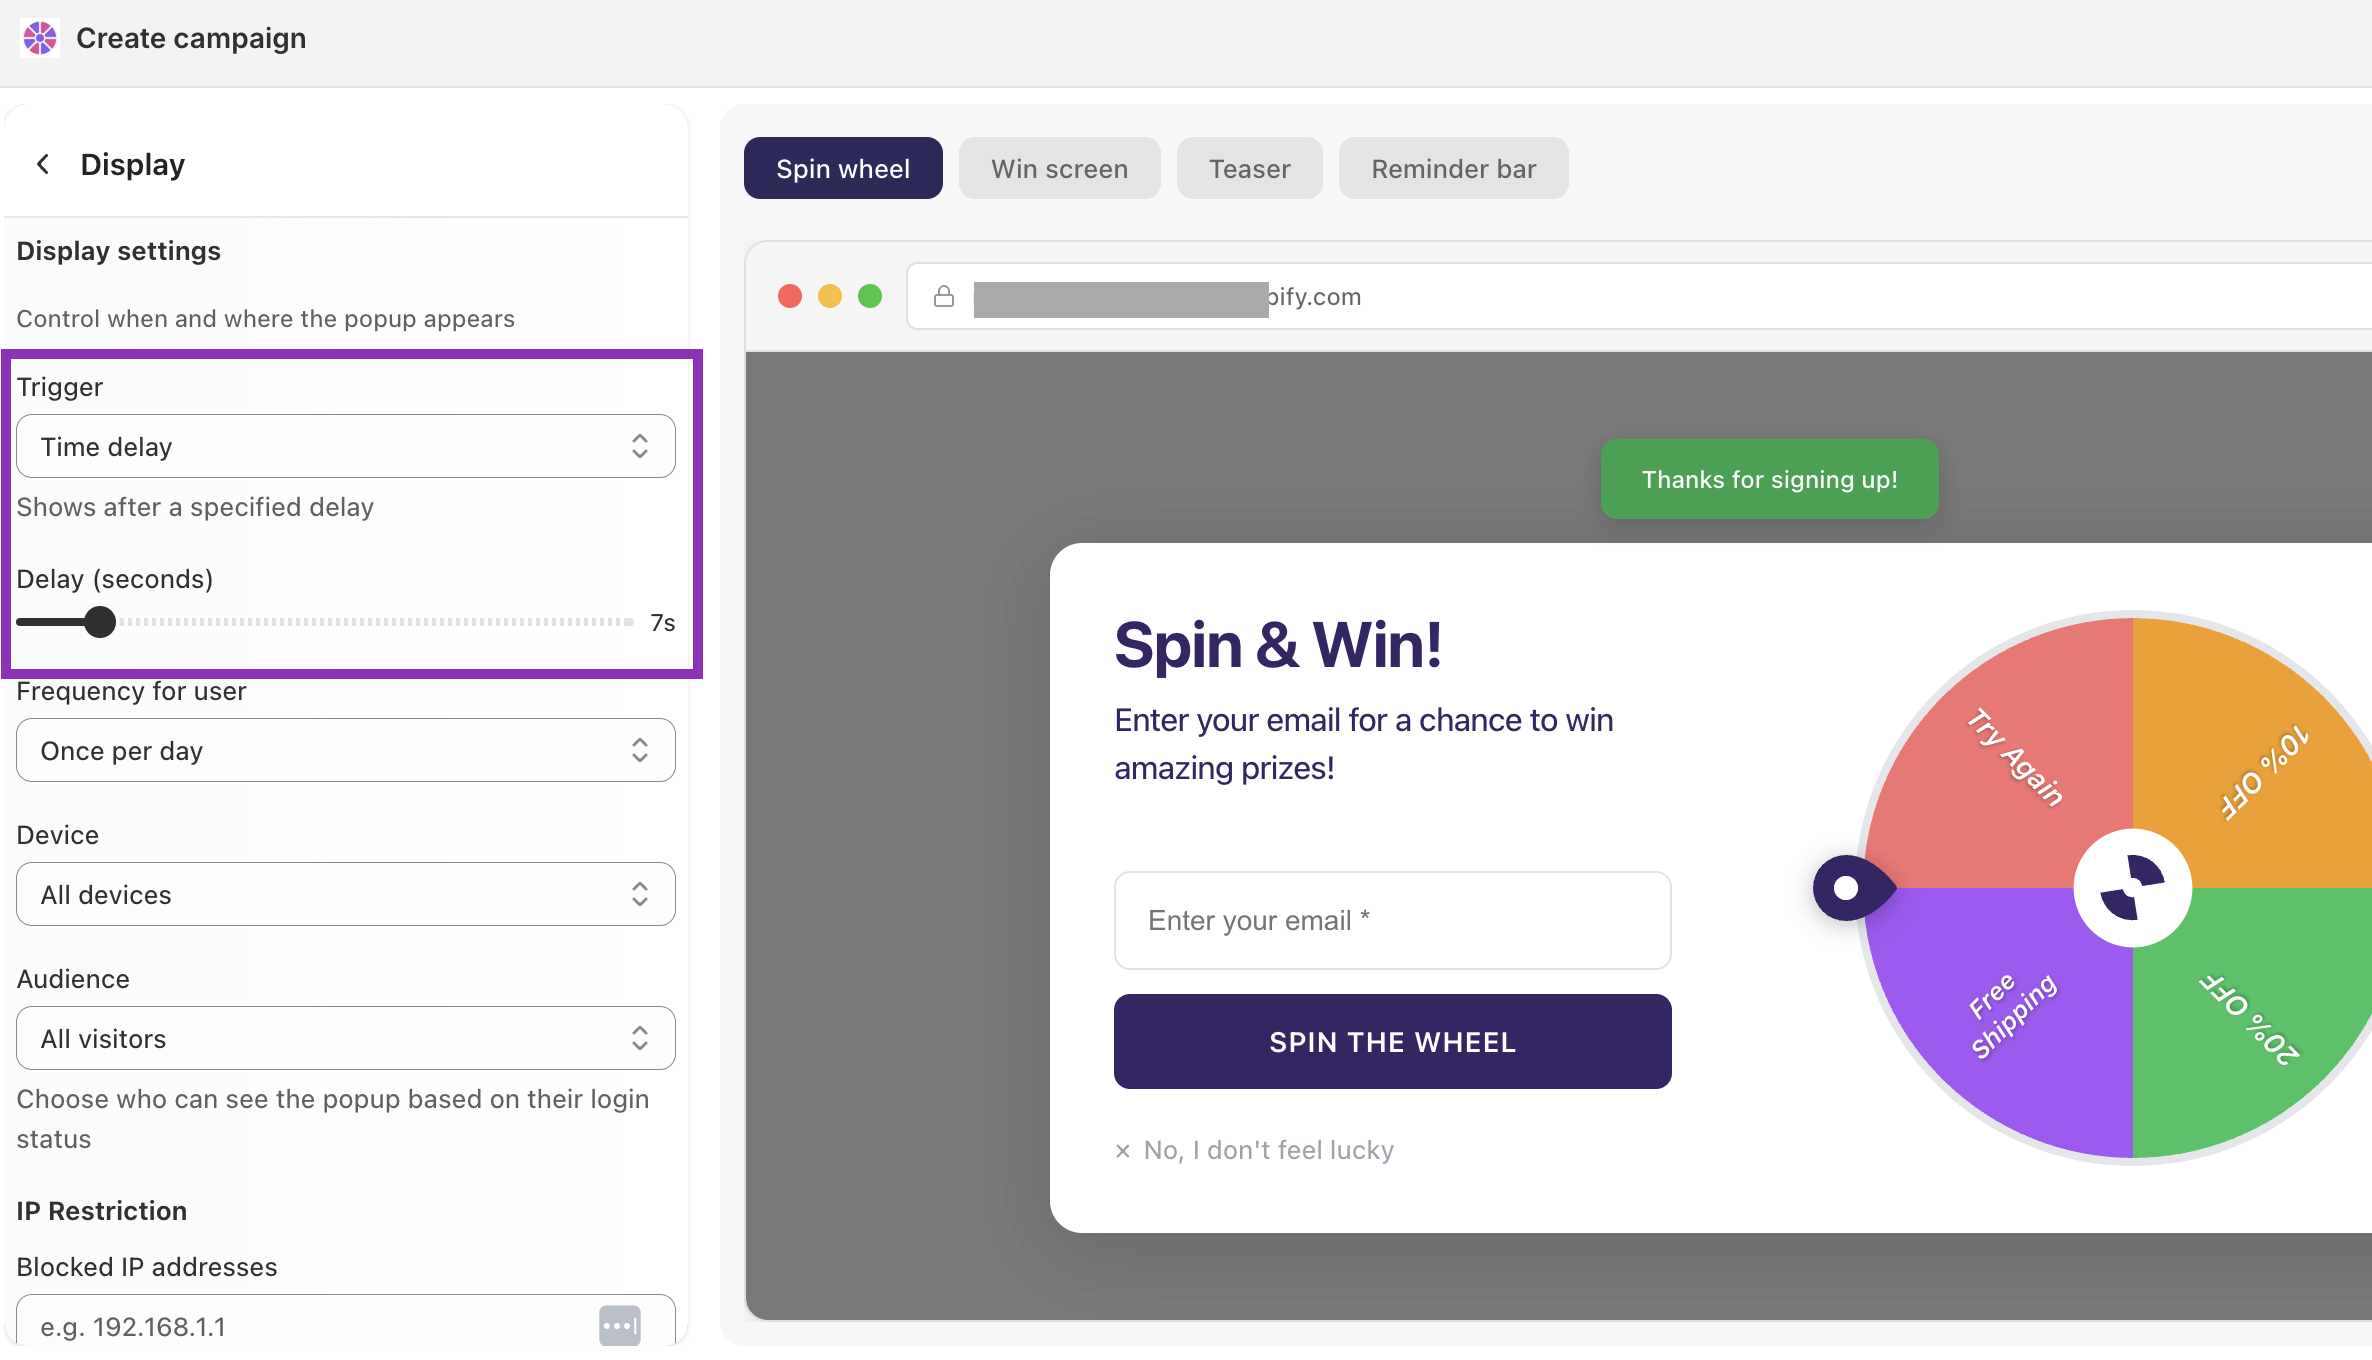
Best for: Content-heavy pages where scroll depth is a strong signal of interest. A visitor who's scrolled 60% through a product page has read the description, seen the reviews, and is clearly considering a purchase.
Example: A furniture store triggers the wheel at 70% scroll on product pages. At that point, the visitor has seen the product details, materials, and customer photos — the offer lands at peak interest, right before they'd normally leave or buy.
💡 Tip: Match the scroll percentage to where your page's key content ends. If your most persuasive content (reviews, benefits, guarantees) sits in the bottom third of the page, set the trigger to 60–70% so the popup appears right after they've read it.
Manual
The popup only appears when a visitor clicks a button — typically the teaser tab sitting on the edge of the screen. Nothing fires automatically.
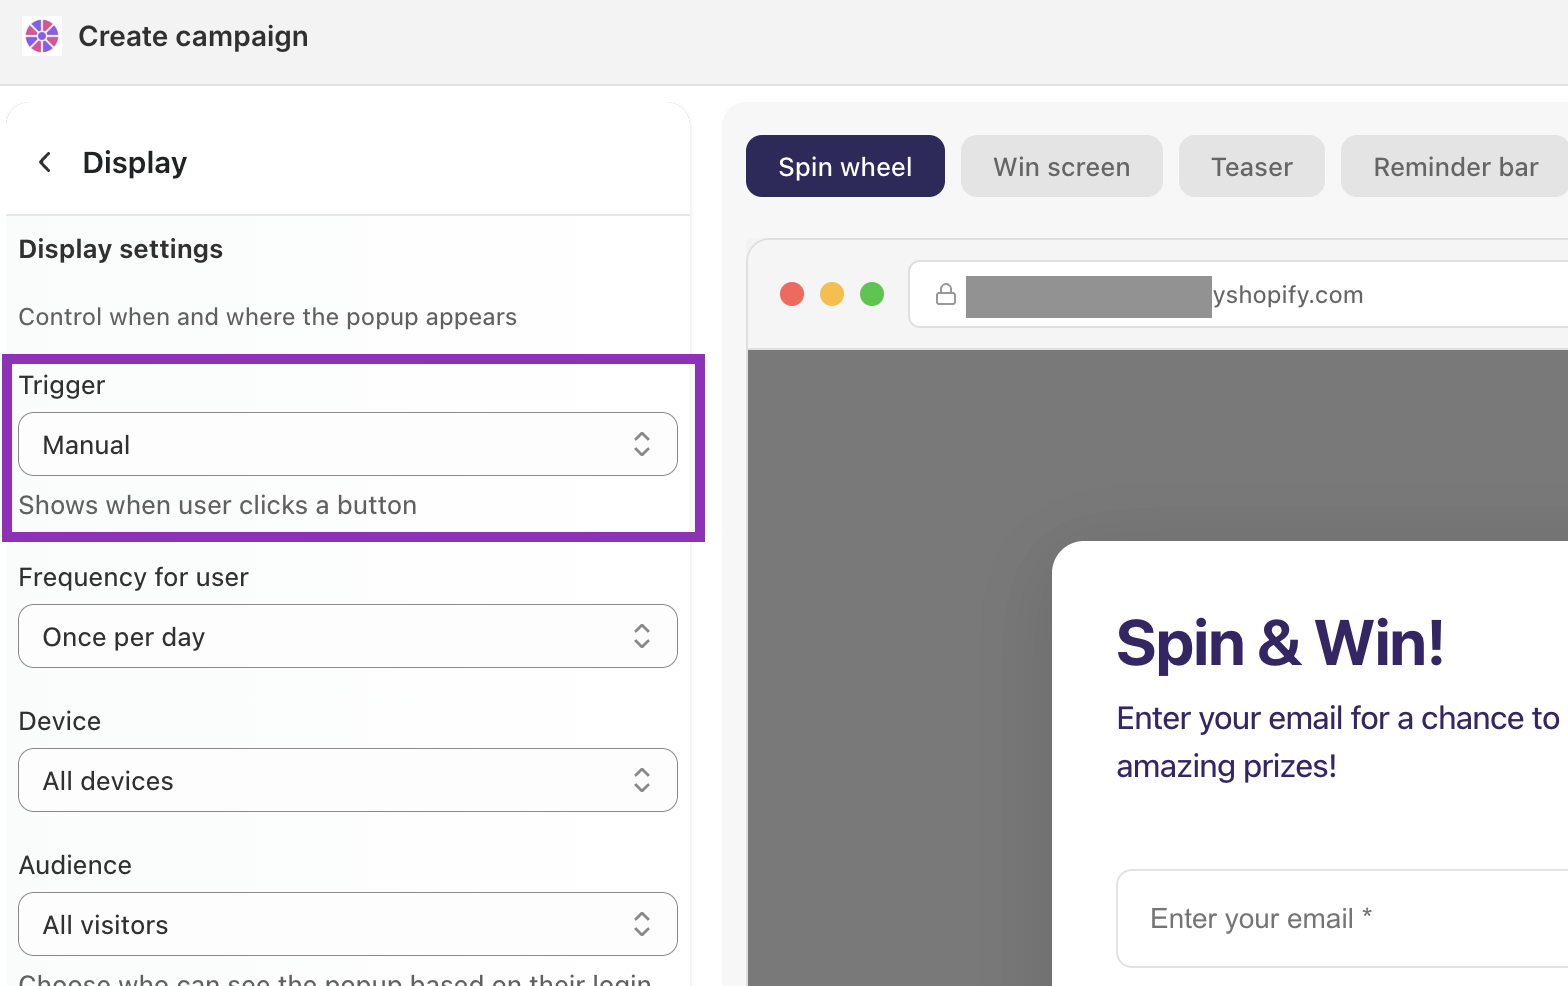
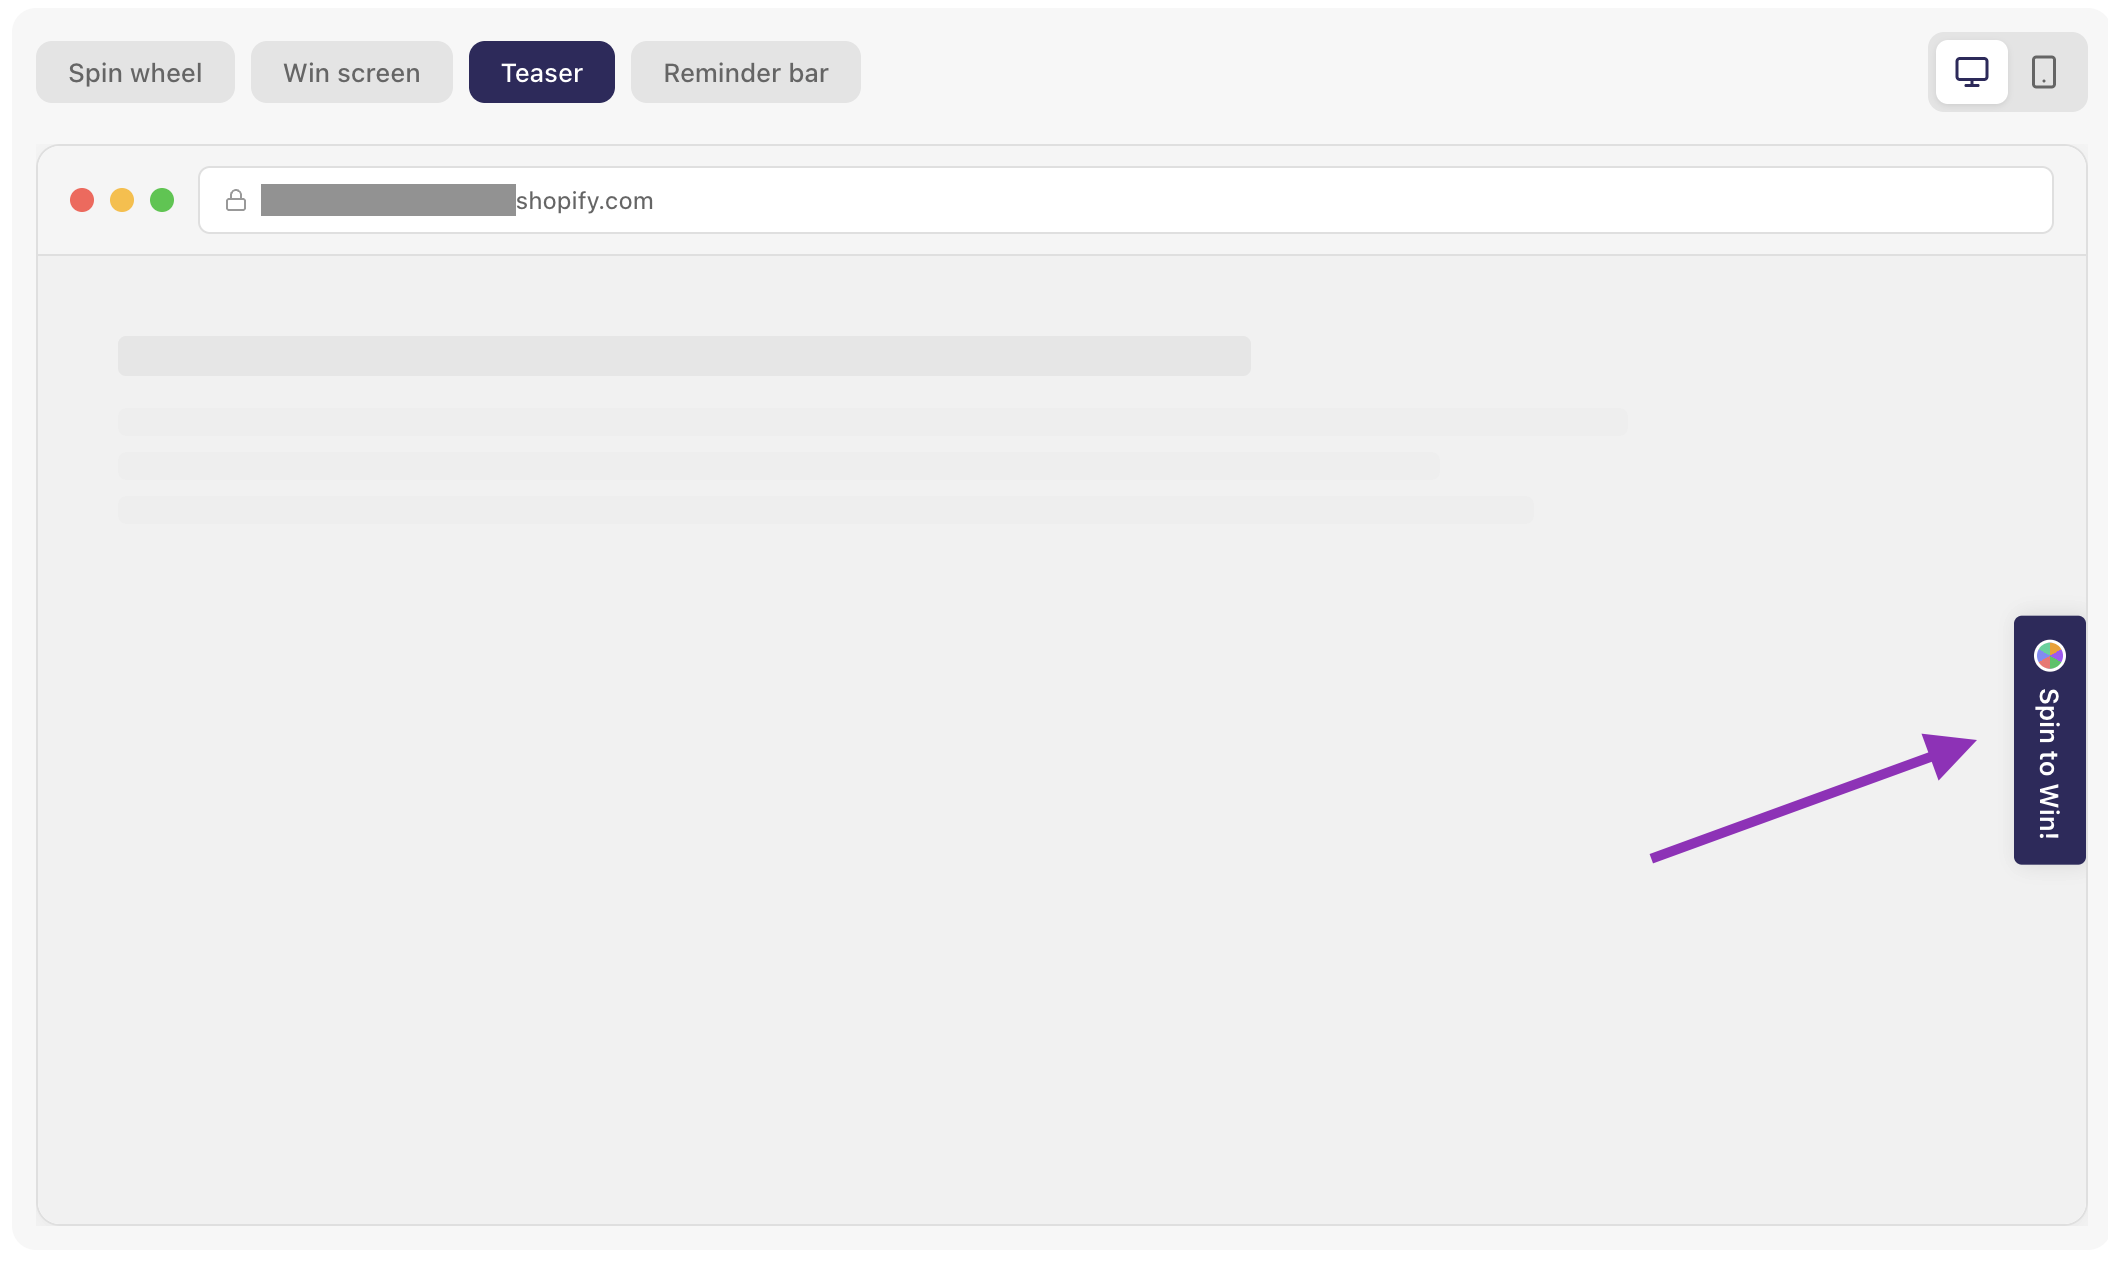
Best for: Stores that want to offer the spin wheel passively without any automatic interruption. The teaser stays visible at all times, letting curious visitors opt in on their own terms.
Example: A premium watch brand doesn't want aggressive popups disrupting their editorial-style homepage. They enable the Manual trigger and a "Spin to win" teaser tab on the bottom right. Visitors who want to engage do — everyone else browses undisturbed.
💡 Tip: Manual works best when paired with a well-designed teaser. If the teaser is easy to spot and the offer is compelling, click-through rates can rival automatic triggers — without any risk of annoying your visitors.
Which trigger should you use?
Situation | Recommended trigger |
|---|---|
You want maximum conversions, minimum setup | Exit intent |
Visitors spend a lot of time reading before buying | Time delay (10–20s) |
You have long product or content pages | Scroll percentage (60–75%) |
You have a premium brand with a curated experience | Manual |
You want to recover cart abandoners | Exit intent |
You're running a time-sensitive sale (Black Friday, etc.) | Time delay (5–8s) |
Note: You can only set one trigger per campaign. If you want to test which performs best, duplicate the campaign, change the trigger, and compare results over time.